How to Make a K-Cup Coffee Pod Holder?
If you love coffee, K-Cups may be your go-to method of quick and easy brews. Unfortunately, keeping those K-Cups organized and out of sight may prove challenging; an K-Cup coffee pod holder provides an effective solution that not only keeps everything tidy but also adds decorative flair.
In this article we’ll outline how you can build one yourself along with helpful hints on keeping K-Cups organized in their holders.
Why Make a K-Cup Coffee Pod Holder?
Designing your own K-Cup Holder has many advantages:
Materials Needed
Before you begin your project, collect the following supplies:
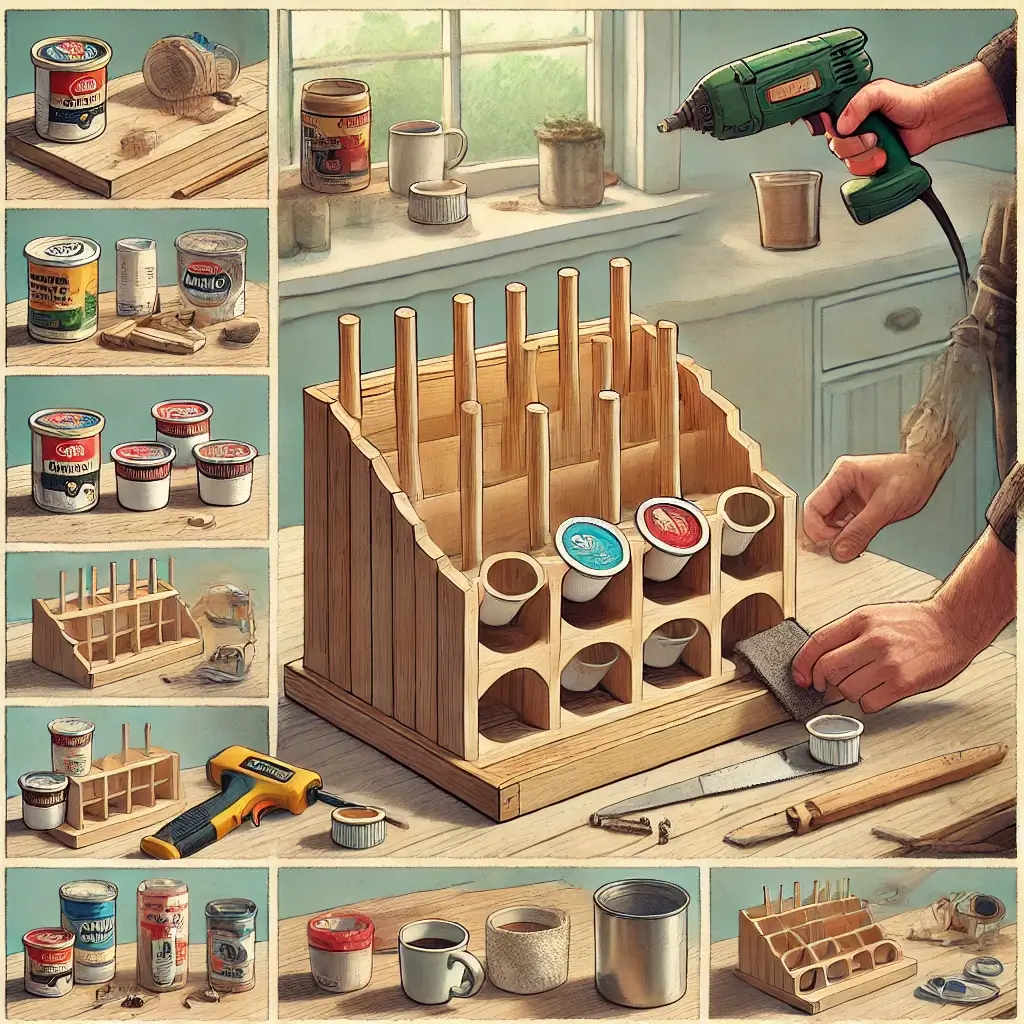
Step-by-Step Instructions


Make up Your Workspace
Place your workstation in a room that is well-ventilated so you can work in peace free of distractions. Set up a drop cloth to shield your surfaces from splatters and dust.


Cut the Base
Determine the size you’d like the size of your K-Cup holders to measure. The most common size is 12 inches long and 18 inches wide You can alter depending on your preferences. With a saw, you can cut the wooden board compatible to the dimensions you prefer. The board will be the base for the K-Cup holder.

Measure and Cut Dividers
Then, you need to measure the width and height for your dividers. Each divider should be about 5 to 4 inches high that is suitable to support the K-Cups with a strong hold. Make use of an electric saw for cutting dowels of wood to the appropriate length. Be sure to use sufficient dividers to make segments for every K-Cup.

Mark the Base
Lay the base flat, and use pencils to mark the locations the dividers will be. Place them equally. The best general rule is to leave 3 inches space between the dividers to assure that the K-Cups can be used comfortably.

Drill Holes
With a drill, create drilling holes through the bases of the base that you’ve marked the dividers. The holes should be wide suitable to allow the dividers to be held securely, approximately 1 or 2 inches in depth.

Assemble the Holder
When you’ve finished drilling holes you’re now ready to put the pieces together in the K-Cup holder. Place the dividers in the holes that you’ve made. If together the wood glue place it on the bottom of each divider prior to adding it to the holes. If you’d prefer together screws, you can do so to hold the dividers in their place. Be sure to assure that they’re uniformly spaced and straight.

Sand the Edges
After the holder has been assembled then use sandpaper to smooth any rough edges of the wood. This is crucial to prevent splinters from forming and makes the holder appear polished.

Finish the Holder
If you’re looking to add your own personal accent it’s moment to stain or paint or stain your K-Cup holder. Pick a color that is in line with the décor of your kitchen, or opt for natural wood stain to create an elegant style. Let it dry completely prior to moving on onto the next stage.

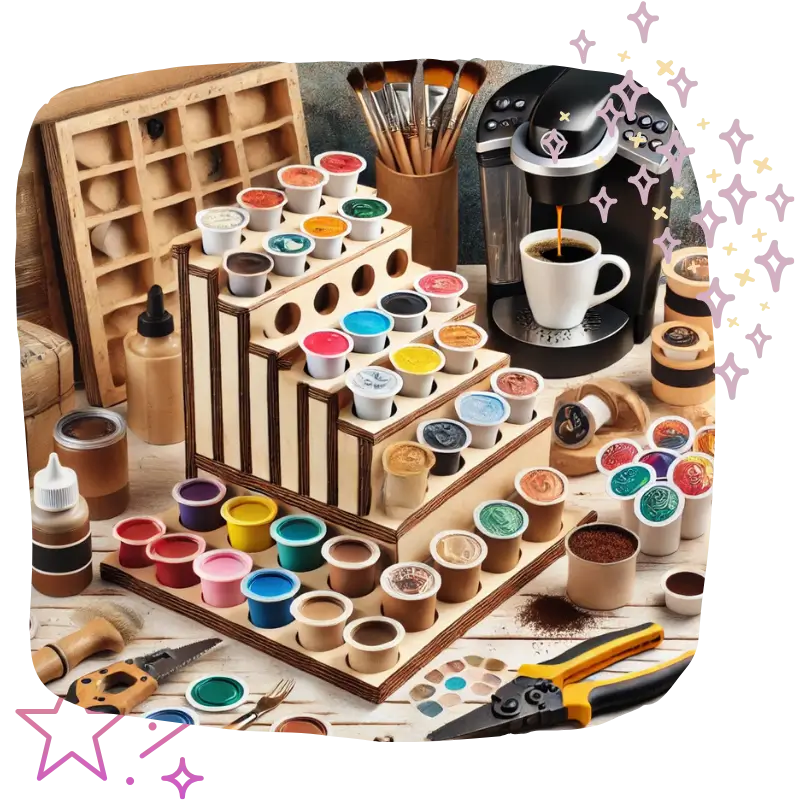
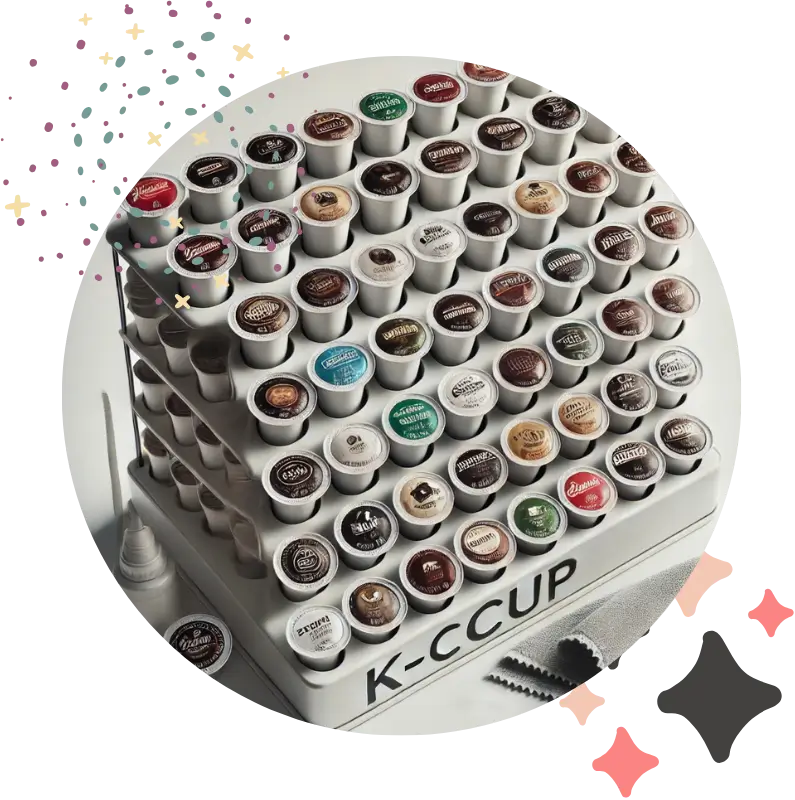
Pour the bottle with K-Cups
Once you’ve got your K-Cup holder is completed with dry material, it’s the time to fill it up with your preferred coffee pods. Set the K-Cups into the sections made by the separators. You can arrange them adequate to flavor or brand, or by type for a better way to discover your favorite beer.
How Do You Keep K-Cups in a Holder?
To ensure that you keep your K-Cups neatly inside the holder, use these easy steps:
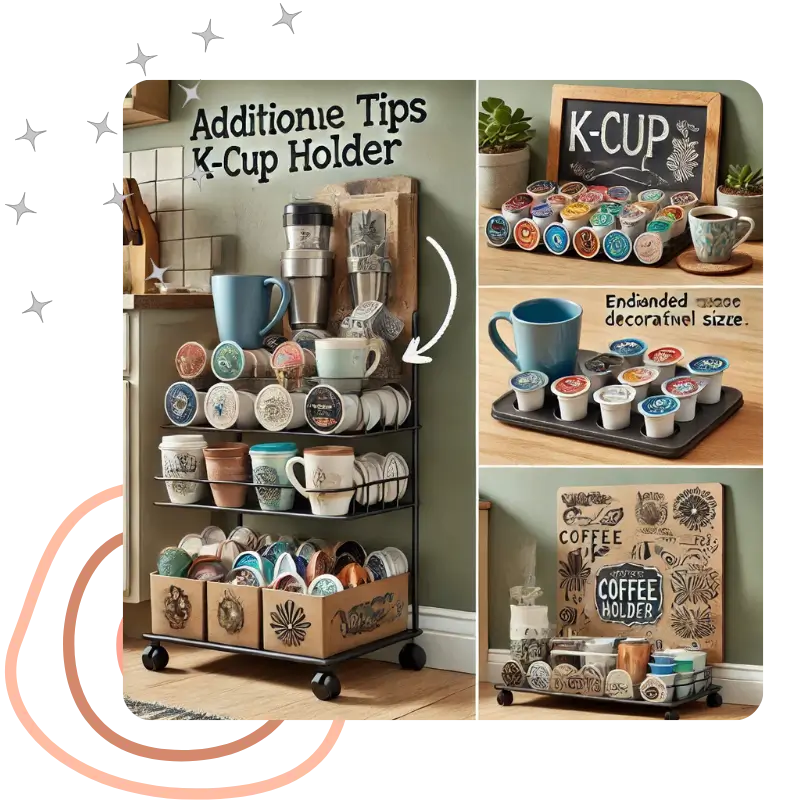
Additional Tips for Your K-Cup Holder

Conclusion
In short, making your personal K-Cup holders for coffee beans is an easy and fun DIY project that can improve the quality of your coffee. With just a few items and a few basic tools and some imagination it is possible to create an elegant and practical holder that is perfect for your kitchen.
It’s not only a great way to keep your K-Cups neat how ever, it can also add an individual appearance to your coffee table. If you follow the steps laid out in this article you’ll be able enjoy the desirable coffee flavors while keeping things neat and neat. Have fun making your coffee!